
Implement Memory Forensics: Step-by-Step Acquisition and Analysis
Volatile memory captures active threats that disk-based tools miss, revealing process injection and hidden network connections before they vanish.
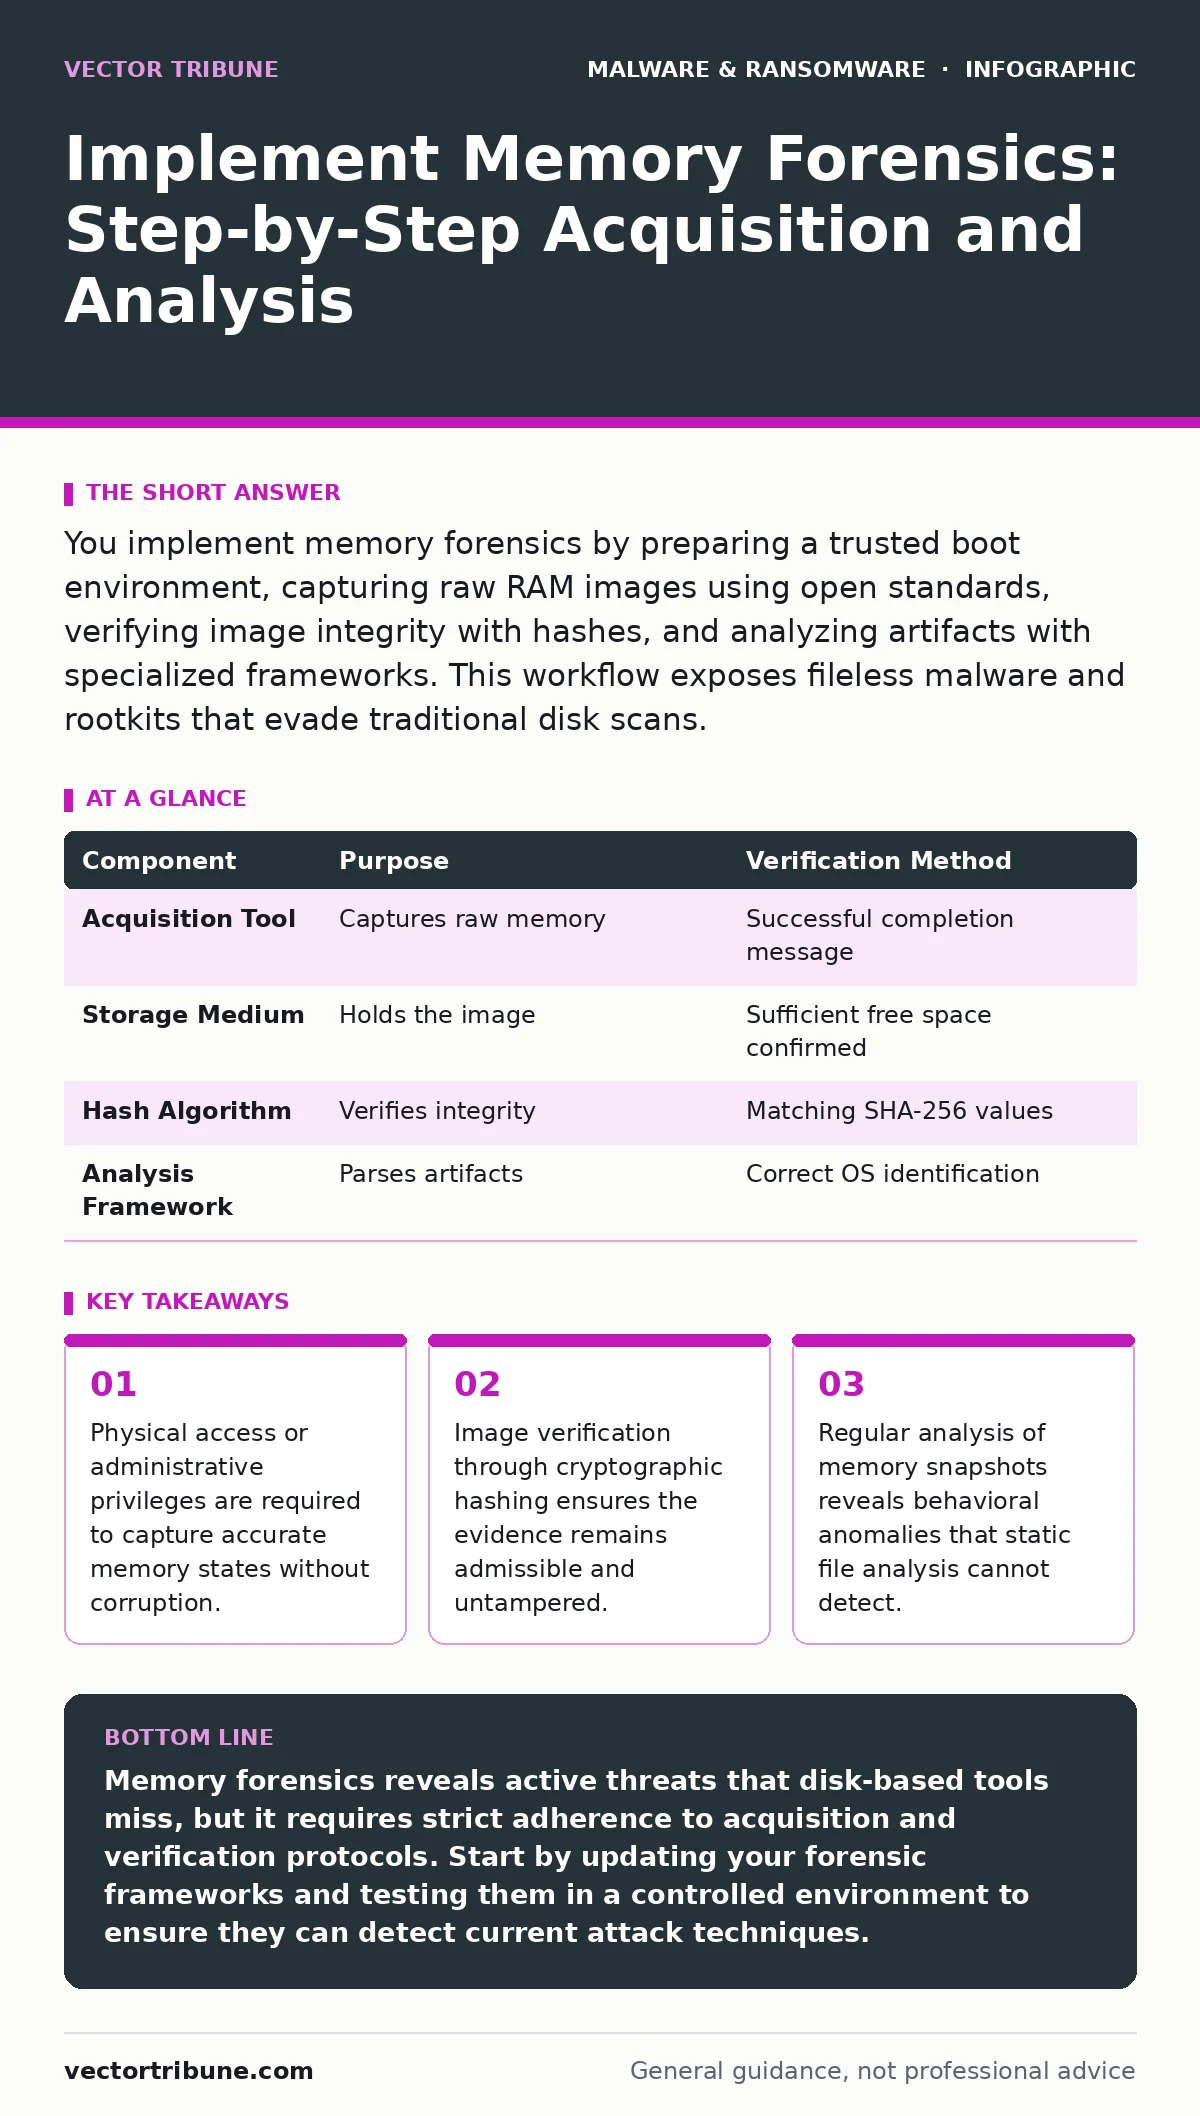
You implement memory forensics by preparing a trusted boot environment, capturing raw RAM images using open standards, verifying image integrity with hashes, and analyzing artifacts with specialized frameworks. This workflow exposes fileless malware and rootkits that evade traditional disk scans.
Establishing the Acquisition Environment
You cannot analyze memory if the capture process itself alters the state you intend to study. The first requirement is a dedicated, isolated system that does not share resources with the target machine. This isolation prevents cross-contamination and ensures that the forensic tools do not inject their own artifacts into the memory dump.
Imagine a scenario where you plug a forensic USB drive into a compromised workstation. If the host operating system recognizes the drive, it may load drivers that modify kernel structures. You must use a write-blocker or a bootable forensic distribution that operates in a read-only mode. This ensures that the act of imaging does not change the volatile data.
Select tools that support open standards for memory acquisition. Proprietary formats can become obsolete, locking your evidence into a vendor-specific silo. Open standards ensure that future analysts can read your data even if the original software is no longer supported. This longevity is critical for long-term investigations and compliance audits.
Step 1: Preparing the Target System
Before you initiate the capture, you must stabilize the target environment. Volatile memory changes constantly as processes start and stop. You need to minimize this churn to ensure a coherent snapshot.
- Identify the critical processes that must remain active.
- Terminate non-essential applications to reduce noise.
- Document the current system state, including network connections and running services.
You tell this step worked when the system load remains stable during the preparation phase. If the CPU usage spikes unexpectedly, a background process may be interfering. You must pause and identify the source of the instability before proceeding.
Step 2: Executing the Memory Capture
The capture method depends on your level of access to the target machine. For physical access, you use a bootable forensic environment. For remote access, you use an agent-based approach that requires administrative privileges.
- Boot the forensic environment or deploy the capture agent.
- Initiate the raw memory dump to a high-speed storage medium.
- Ensure the storage medium has sufficient space to hold the entire RAM content.
The capture is successful when the tool reports a complete transfer without errors. You should see a raw binary file representing the physical memory. If the file size is significantly smaller than the installed RAM, the capture may be incomplete.
Step 3: Verifying Image Integrity
A memory image is useless if you cannot prove it has not been altered. You must generate cryptographic hashes immediately after the capture completes. These hashes act as a digital fingerprint for the image.
- Calculate the SHA-256 hash of the raw memory image.
- Record the hash value in your case notes.
- Store the hash separately from the image file.
You verify this step by recalculating the hash after any transfer or copy operation. If the new hash matches the original, the data remains intact. A mismatch indicates corruption or tampering, rendering the evidence unreliable for further analysis.
Step 4: Analyzing Artifacts with Frameworks
You now have a static representation of a dynamic system. You need specialized frameworks to parse the raw binary data into understandable structures. These frameworks map memory regions to processes, drivers, and network connections.
- Load the memory image into the analysis framework.
- Identify the operating system version and architecture.
- Run automated profiles to extract process lists and module information.
The analysis is working when the framework successfully identifies the primary operating system structures. You should see a list of running processes that matches the documentation you created in Step 1. If the framework fails to parse the image, the capture may be corrupted or the profile may be incorrect.
See also: Misdirected Email Response: Containment and Recovery Steps · Alert Triage: How to Cut Noise and Find Real Threats
Step 5: Investigating Suspicious Indicators
Not all artifacts are malicious. You must filter out normal system behavior to focus on anomalies. Look for processes that are not associated with a disk file. These are often signs of fileless malware, which executes directly in memory to avoid detection.
- Identify processes with missing or invalid paths.
- Examine network connections for unexpected outbound traffic.
- Review loaded modules for unsigned or mismatched signatures.
You detect a threat when you find a process that is running but has no corresponding file on the disk. This discrepancy suggests that the code was injected into a legitimate process or executed entirely in memory. Such techniques are common in advanced persistent threats.
Step 6: Correlating with Other Data Sources
Memory forensics provides a snapshot in time, but it lacks historical context. You must correlate memory findings with other data sources to build a complete picture of the incident.
- Compare memory artifacts with disk logs and event records.
- Check for indicators of compromise in network traffic logs.
- Review user activity logs for unauthorized actions.
This correlation is effective when you can trace a memory-based artifact back to a specific user action or network event. It helps you determine the initial entry point and the scope of the compromise. Without this context, memory artifacts remain isolated data points.
Maintenance and Continuous Improvement
Memory forensics is not a one-time task. You must maintain your tools and update your profiles to keep pace with operating system changes. New versions of operating systems introduce new memory structures that older tools may not recognize.
- Regularly update your forensic frameworks to the latest versions.
- Test your acquisition process on clean systems to ensure compatibility.
- Review and refine your analysis procedures based on new threat intelligence.
You maintain effectiveness by simulating attacks in a controlled environment. This allows you to verify that your tools can detect known techniques. If your tools fail to identify a simulated threat, you must adjust your methodology or upgrade your software.
For deeper insights into related threats, see our guide on fileless malware. Understanding how these threats operate in memory is critical for effective detection. Additionally, review our guide on extended detection and response (XDR) to see how memory data integrates with broader security platforms.
| Component | Purpose | Verification Method |
|---|---|---|
| Acquisition Tool | Captures raw memory | Successful completion message |
| Storage Medium | Holds the image | Sufficient free space confirmed |
| Hash Algorithm | Verifies integrity | Matching SHA-256 values |
| Analysis Framework | Parses artifacts | Correct OS identification |
Final Verification Checklist
Before you close the investigation, you must ensure that every step was completed correctly. This checklist serves as a final quality control measure.
- The acquisition environment was isolated and trusted.
- The target system was stabilized before capture.
- The memory image was captured to local, high-speed storage.
- The SHA-256 hash was calculated and recorded.
- The image was analyzed with an up-to-date framework.
- Suspicious artifacts were correlated with other data sources.
- The tools and profiles were updated for future use.
Completing this checklist ensures that your memory forensics process is robust and repeatable. It provides a clear audit trail for compliance and legal purposes.
Key takeaways
- Physical access or administrative privileges are required to capture accurate memory states without corruption.
- Image verification through cryptographic hashing ensures the evidence remains admissible and untampered.
- Regular analysis of memory snapshots reveals behavioral anomalies that static file analysis cannot detect.
Memory forensics reveals active threats that disk-based tools miss, but it requires strict adherence to acquisition and verification protocols. Start by updating your forensic frameworks and testing them in a controlled environment to ensure they can detect current attack techniques.
Frequently asked questions
Can I perform memory forensics on a remote server?
Yes, but you need an agent installed on the server that has administrative privileges. Remote capture is slower and more prone to network errors than physical capture.
How often should I update my memory analysis tools?
You should update them whenever a new version of the operating system is released. New OS versions change memory structures, which can break older analysis profiles.
Is memory forensics legal in all jurisdictions?
Laws vary by region. You must consult legal counsel to ensure that your acquisition methods comply with local privacy and evidence handling regulations.
What if the memory image is too large to analyze?
You can use tools that create lightweight, targeted dumps of specific memory regions. This reduces the file size while preserving the most critical artifacts.
How this guide was produced: written by the Vector Tribune editorial team with AI assistance, checked against the public references listed below, and reviewed when the facts change. See our editorial policy or report an error.